Embarking on a roof installation project can be daunting, but with the right guidance, it can be a smooth and stress-free experience. Whether you’re replacing an old roof or building from scratch, understanding each step of the process is essential. Let’s walk you through the key stages of a successful roof installation, ensuring your new roof is built to last.

1. Understanding Your Roof Needs
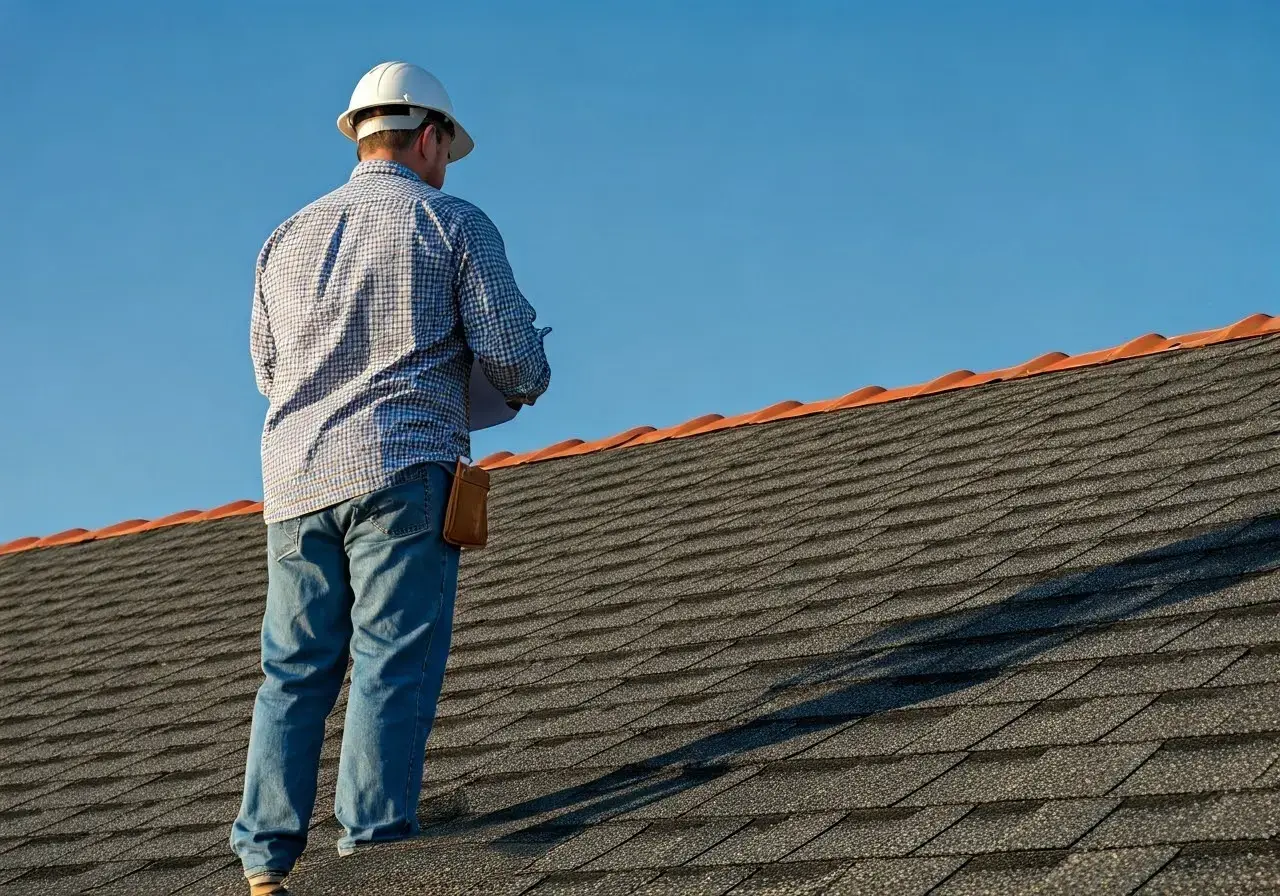
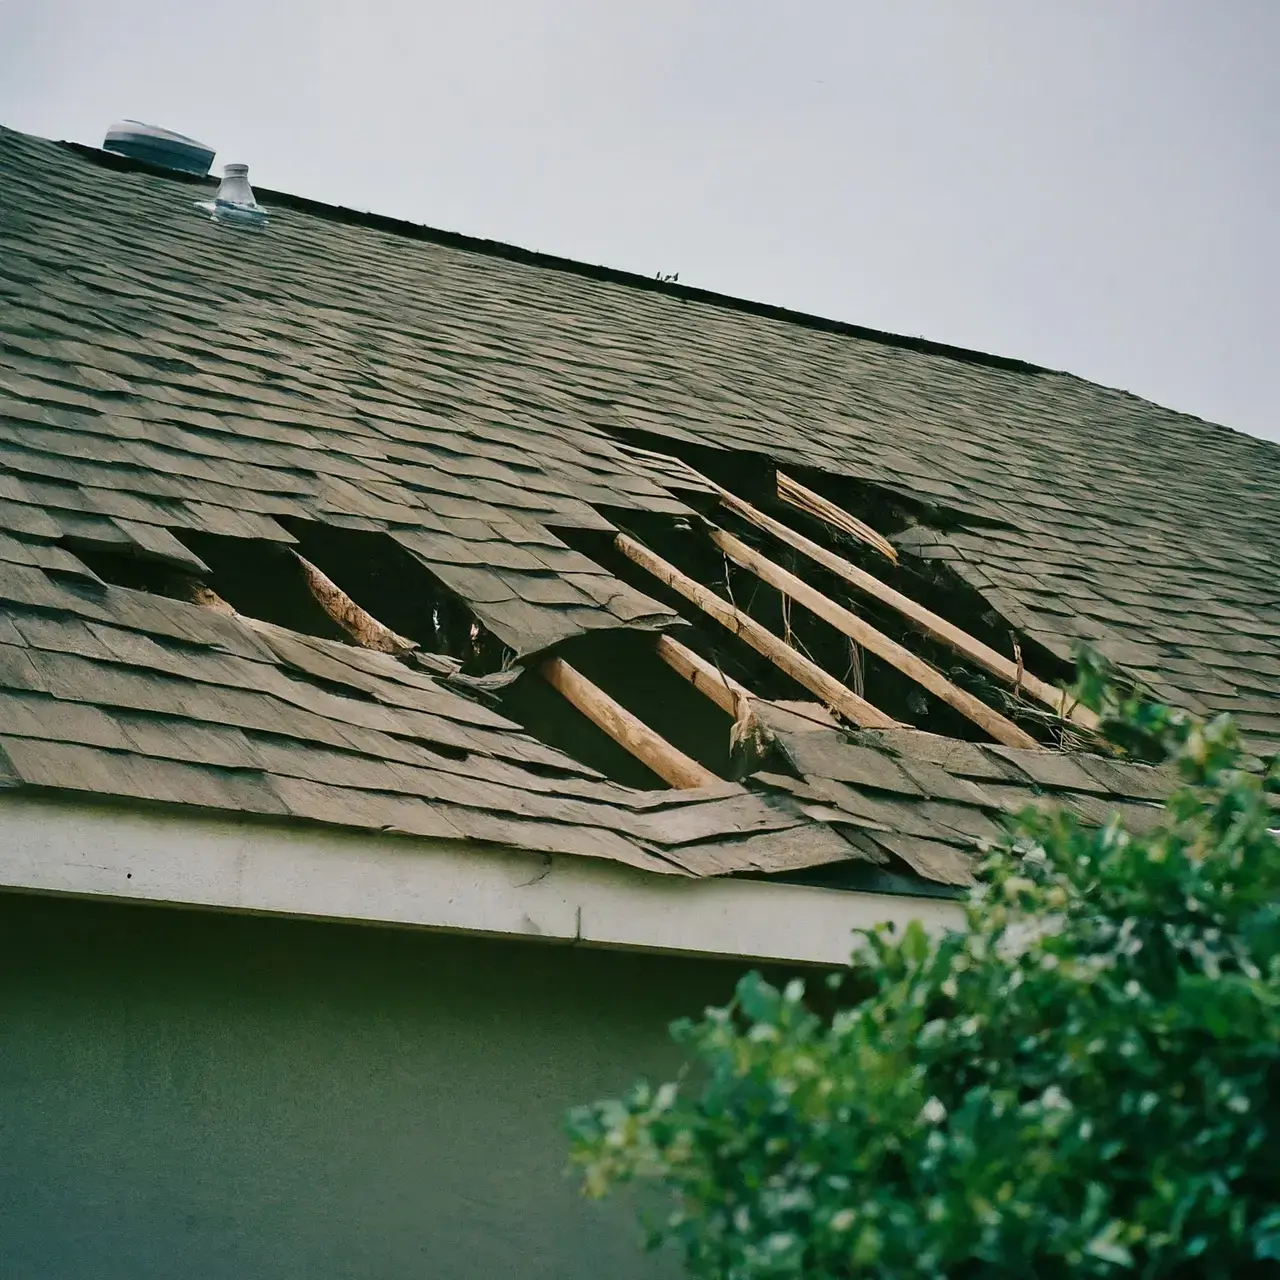
Begin by assessing what your roof requires. Consider factors like the climate, style preferences, and any existing issues that need addressing. A common roof inspection by professionals can give you insights about its current state, helping you plan effectively for replacements or repairs. Consider not just the obvious leaks or missing shingles, but also subtle signs of wear and tear that might need attention.
In your assessment, gauge the wear on existing materials. For instance, asphalt shingles have a lifespan of about 20 years, while metal roofs can last much longer with proper care. Depending on your roof’s current state, it might be time to deliberate whether a complete overhaul is necessary or if small repairs would suffice. Make these decisions by consulting roofing experts who understand local climate challenges and can advise on longevity and performance requirements.
2. Choosing the Right Materials
Selecting the appropriate materials is crucial. Look for durability, cost-effectiveness, and materials that complement your home’s design. Asphalt shingles are popular for their affordability and ease of installation, but they may not offer the durability of metal or slate options. On the other hand, metal roofing provides excellent durability and energy efficiency benefits, making it ideal for sunny areas like San Antonio.
It’s essential to weigh the pros and cons of each material, considering cost, maintenance needs, and lifespan. If aiming for a high-end finish and long-term performance, materials like slate or clay tiles can add significant value and aesthetic appeal. However, consider additional structural requirements as these materials are heavier.
3. Creating a Budget
Planning your budget helps in managing costs effectively. Factor in materials, labor, and unexpected expenses for a realistic financial outline. Start by obtaining multiple quotes from contractors to understand labor costs, and don’t forget to include costs for permits, inspections, and site preparations. Setting aside a buffer for unexpected expenses is also wise, as hidden damages can sometimes be revealed during the installation phase.
Having a clear budget plan allows you to make informed decisions about material choices and is instrumental for negotiating with contractors. By understanding where compromises can be made without sacrificing quality, you’re better equipped to allocate funds efficiently, ensuring all essential areas are accounted for.
4. Hiring Professional Roofing Experts
Choose experienced and reliable roofing professionals. Verify their credentials and past projects to ensure high-quality workmanship. A professional team will guide you through the complexities of roof installations, ensuring a seamless experience from start to finish. Pay attention to recommendations and reviews, as these are often reflective of a company’s reliability and craftsmanship.
It’s beneficial to find roofing professionals familiar with local codes and weather challenges. For instance, San Antonio’s heavy rains necessitate proper waterproofing techniques to prevent water damage. Ensure your contractor is versed in these details, which are crucial for safeguarding your property. Don’t hesitate to ask about their past projects and inspect some if possible to get a firsthand insight into their work quality and durability.
5. Scheduling an Initial Inspection
An initial inspection allows professionals to identify any underlying issues and refine the project plan accordingly. This assessment helps to spot potential hazards that could disrupt the installation process. Inspections not only highlight primary damage but also secondary areas where problems could arise, ensuring a comprehensive approach to roof installation.
During this step, roofing experts can also evaluate the home’s structural integrity. Addressing any found issues early prevents costly surprises later on. Visual inspections should ideally be followed by a detailed report, outlining necessary preparations, materials needed, and estimated timelines. Adjustments to the original plan based on inspection findings are common, highlighting the importance of this step in crafting a successful roofing project strategy.
6. Understanding Permits and Regulations
Ensure all necessary permits are acquired and understand local regulations to avoid any legal complications during the installation. Depending on your location, roofing permits might be mandatory, and obtaining them can take time. This is an area where experienced roofing professionals can assist, having knowledge of the local legal landscape ensures compliance and avoids potential fines.
7. Preparing the Roof Site
Clear the site of debris and protect the surrounding area to create a safe and efficient working environment. This vital preparatory step ensures the safety of the installation crew and minimizes damage to your property. Protecting landscaping and outdoor furniture with tarps or temporary barriers is essential, safeguarding against debris and dust.
Ensuring easy access for workers enhances productivity and reduces unnecessary time delays. The installation team should coordinate the setup of safety equipment and scaffolding efficiently, ensuring this preliminary phase is handled professionally. Completing this prep work signifies a ready and secure site conducive to initiating the roofing project, setting the stage for an uninterrupted installation process.
8. Installing the Underlayment
Begin the installation process with a strong foundation by laying the underlayment, providing an extra layer of protection. This moisture barrier is crucial in maintaining the roof’s integrity, particularly in areas subjected to heavy rainfall. High-quality underlayments can significantly extend the lifespan of your roof by preventing water infiltration and reinforcing shingle performance.
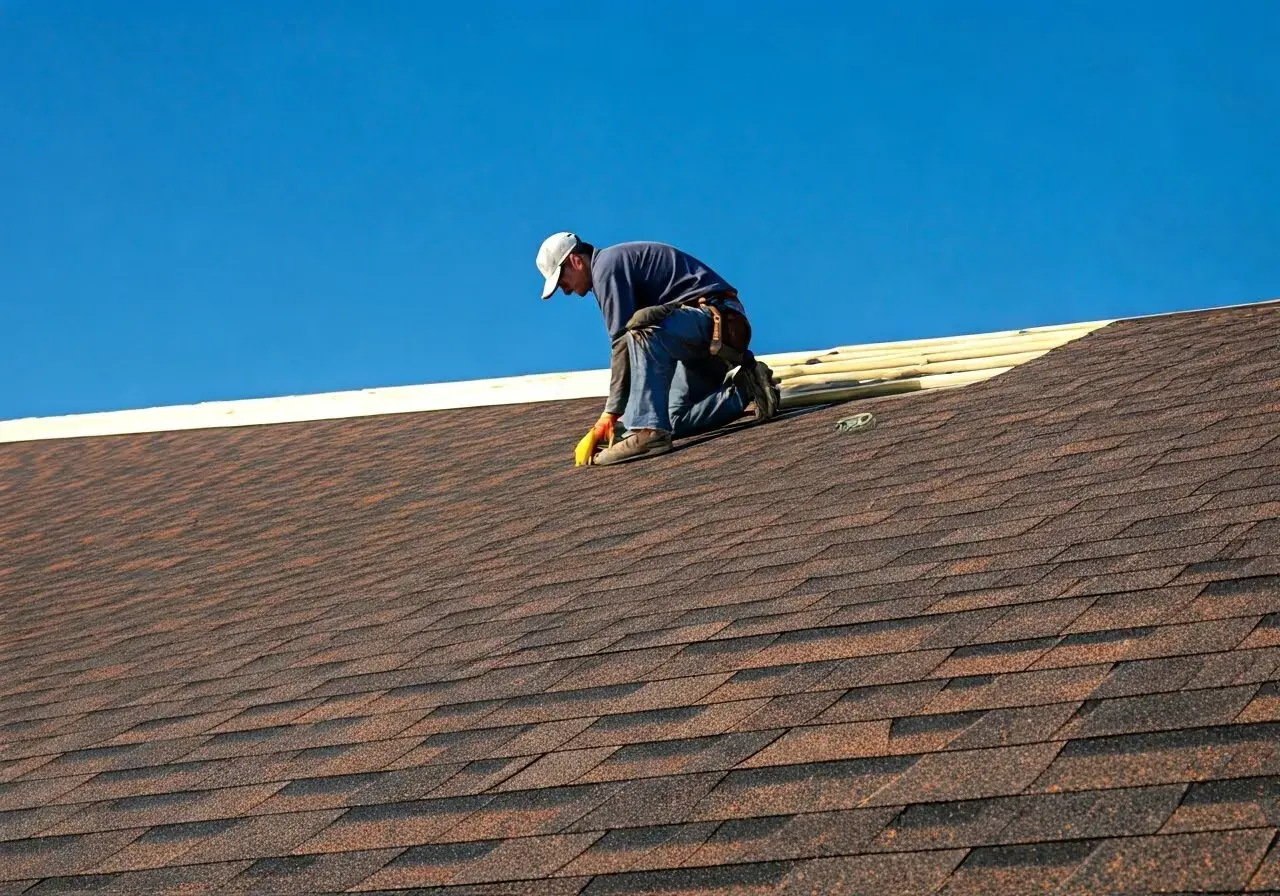
9. Laying the Roofing Material
Carefully install the chosen roofing materials, paying attention to manufacturer guidelines to ensure durability and longevity. Each material type, whether asphalt shingles, metal, or slate, requires its specific handling techniques. Thus adherence to detailed installation procedures becomes pivotal. This stage also offers an opportunity to utilize technology such as drones for aerial views, ensuring all material placements are aligned correctly without gaps.
10. Ensuring Proper Ventilation
Good ventilation prevents moisture buildup and extends the lifespan of your roof. Understand how to balance airflow in your design, which is crucial in preventing condensation and ensuring optimal attic temperature. Installing ridge or soffit vents can enhance your roofing system’s breathability, thus sustaining its performance across seasonal shifts.
11. Conducting a Final Inspection
Once installation is complete, perform a thorough inspection to ensure everything meets standards and addresses necessary adjustments. Professionals verify through quality control measures that each aspect of the installation holds up to specifications. This step is vital for catching any last-minute issues, ensuring peace of mind and a watertight finish.
Through this critical closure phase, verify all agreed-upon measures with your contractor, including site cleanup. Any discrepancies should be immediately addressed, leveraging the warranty options discussed earlier. This ensures a seamless transition to the maintenance phase, where regular checks continue protecting your home’s newest feature.
12. Scheduling Regular Maintenance
Plan for regular maintenance checks to identify and solve minor issues before they escalate, helping prolong your roof’s lifespan. Similar to how a car benefits from routine service, your roof requires similar attending to. Regular inspections help catch minor nuisances like small punctures or debris accumulation, which could otherwise lead to more significant issues if left unnoticed.
Staying proactive with upkeep ensures your roof continues to protect your home effectively. Services can include checks scheduled around seasonal changes, emphasizing the role of timely storm damage repair and general wear and tear due to weather. Utilizing professional services for this prolongs your investment’s durability and maintains aesthetic appeal, contributing to your home’s overall health and value.